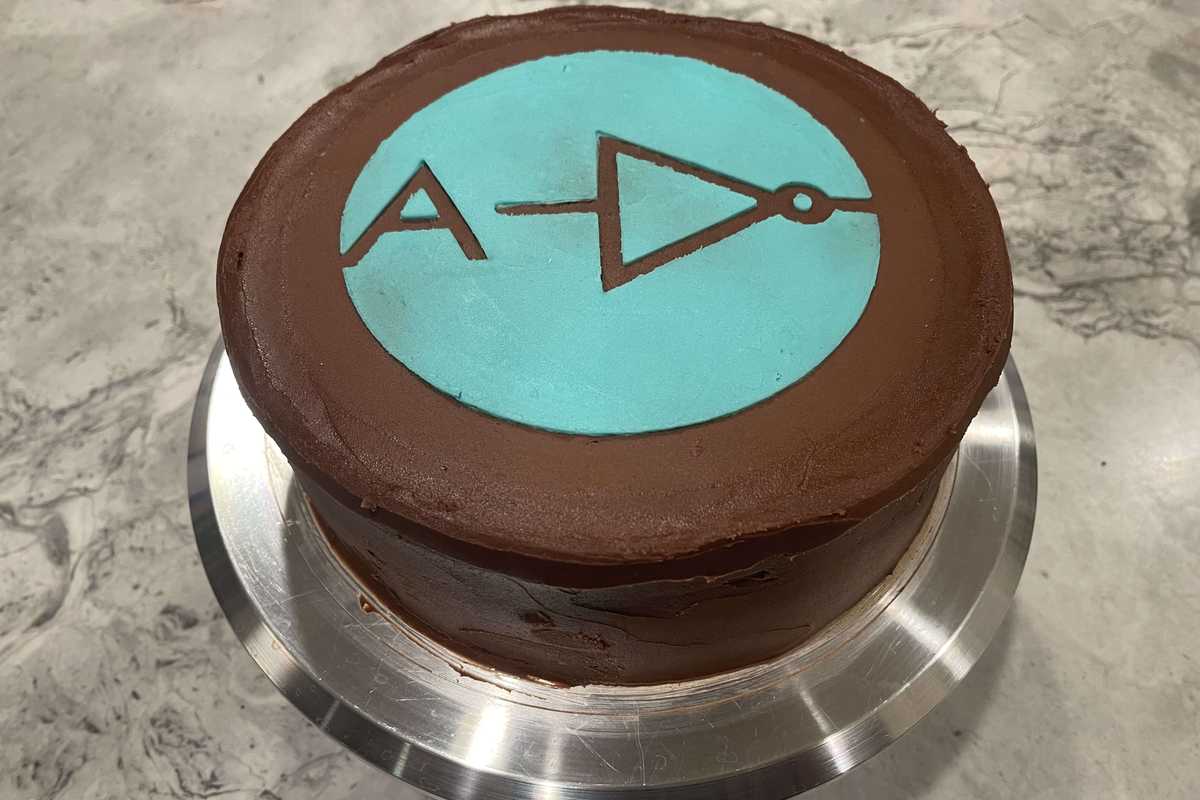
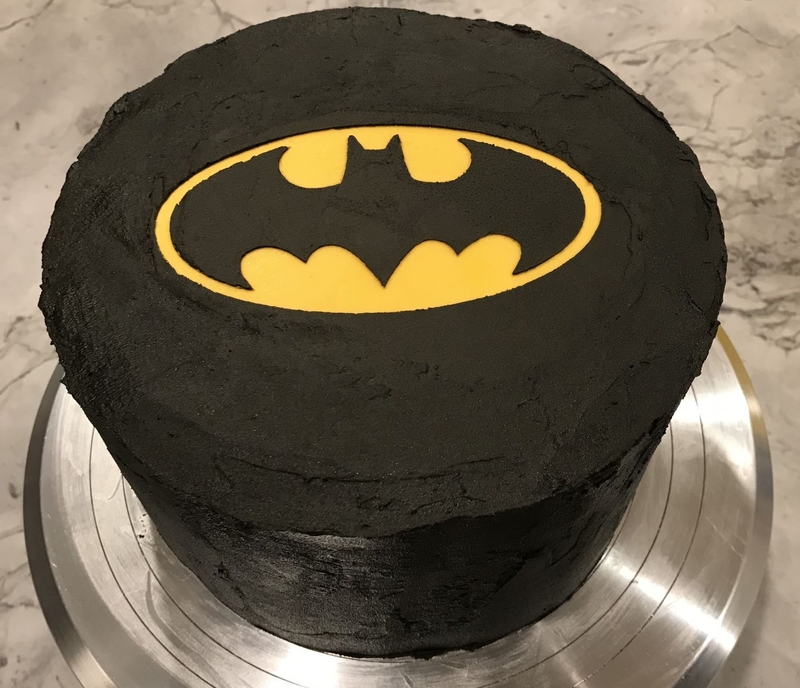
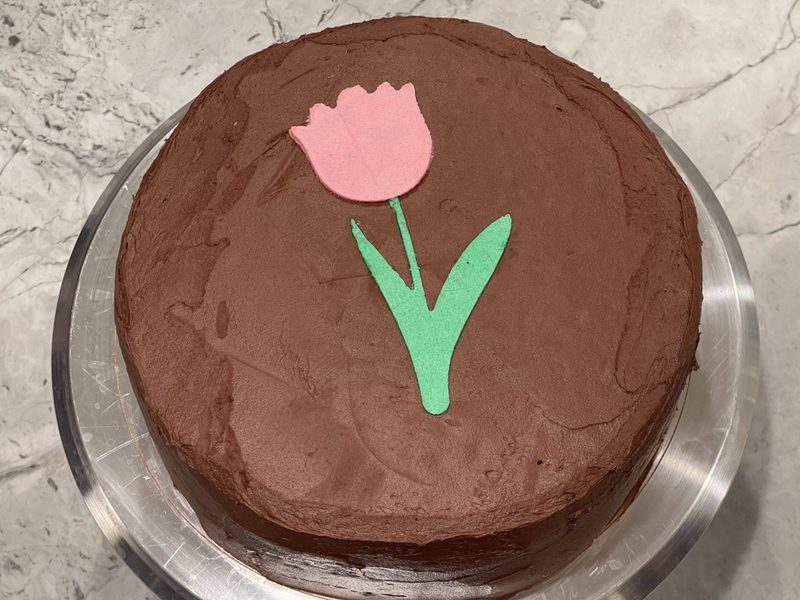
A 3d printed stencil is a great way to easily create a clean, simple, and professional looking cake. In this short guide I will provide instructions for creating a stencil and applying it to add a pattern to a cake.
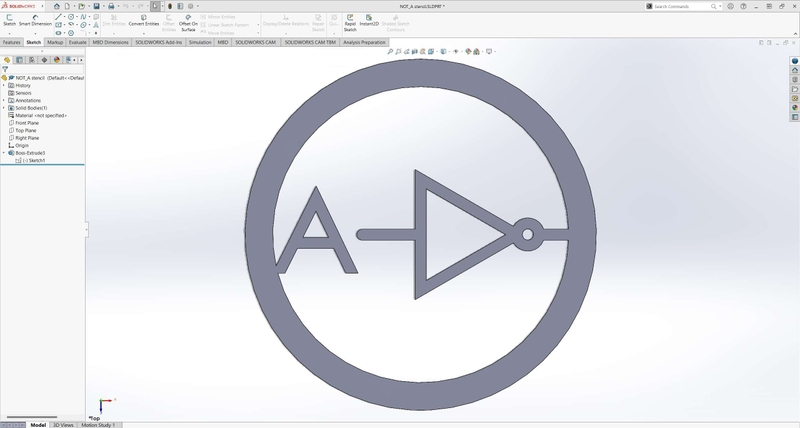
The first step is to design the stencil in a CAD program. I use SolidWorks, but most other programs should work. Keep in mind that the gaps in the stencil are where frosting will be added, and the solid sections are where frosting will be missing.
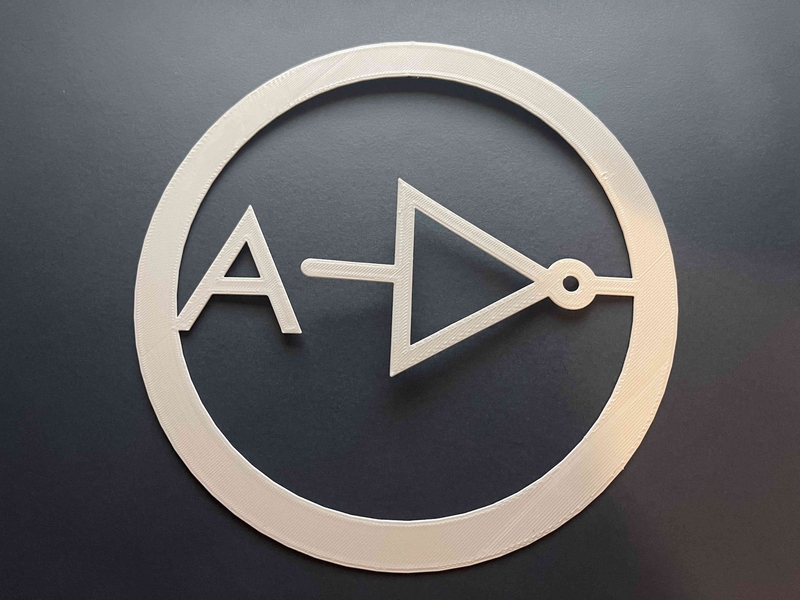
There are two types of stencils you can use. The first type is used to apply the pattern on top of a base layer of frosting. To do this, you will need a large border on the outside of the stencil so that frosting can be applied without it being pushed over the outside edge of the stencil and sticking to the cake. The second type is used to remove the pattern from the top layer of frosting, exposing another layer underneath. For this type the shape of the stencil will be exactly what you see in the resulting pattern.
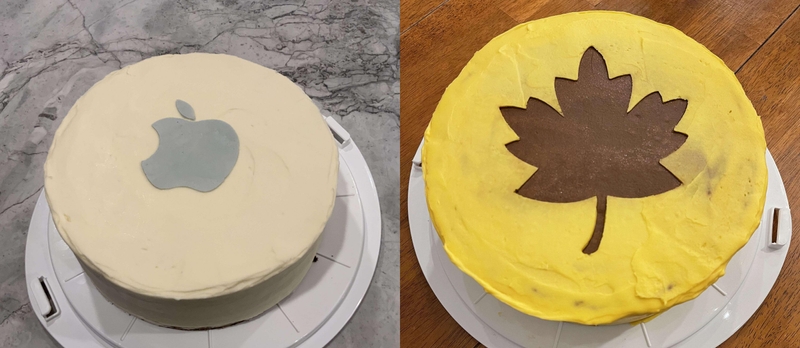
Start by drawing the shape of the stencil you want. Many CAD programs also support importing an image that you can trace to produce a stencil. Some even have tools to automatically trace a picture, although I have found the results to be poor. You might also be able to find sketches or models of patterns online that you can modify and use for a cake. Scale your drawing to the size you would like the pattern to appear on your cake. It's best to keep the stencil as a single piece because the stencil may slide around slightly when you spread frosting over it. This makes it difficult to keep multiple stencils aligned properly.
Extrude your sketch to create a 3d object. I recommend starting with a height of about 1mm and adjusting if needed.
Make The Stencil
Next, print the stencil with your 3d Printer. I use PLA for my stencils. Make sure to prepare your print so that it is food safe. Here is a guide outlining some steps you can follow to properly prepare your print.
Apply The Pattern To A Cake
For both types of stencils you will need to apply a base layer of frosting to at least the top of the cake. It is best to choose a frosting that is easy to spread and will harden such as American buttercream.
Try to get the top later as smooth and flat as possible. I prefer to place the cake on a rotating cake stand and use a offset spatula to spread the frosting.
Next, place the cake in a refrigerator until the frosting hardens. An hour or so should be enough. Remove the cake from refrigerator and place the stencil in the desired location. Press frosting on top of the stencil and begin to spread it outwards to cover the pattern. The frosting will begin to harden as soon as you place it on the cold cake, so it is best to work fast. As you spread the frosting, remove as much as possible and place it into a bowl. The layer should be thin enough that you can clearly see the stencil underneath the frosting. If there is too much frosting above it, some frosting on the sides of the stencil will ripped off with it, creating a rough edge.
Finally, remove the stencil. For the second type of stencil, you may need to use a toothpick or the tip of a knife to dig beneath the stencil and lift it up slightly. If you are having trouble removing the stencil without frosting being pulled up on its sides, you can try using a hair dryer or heat gun to soften it.
Advanced Stencil Usage
For a more complete look than just a single color and layer, you can use a multi-layered design. Use multiple stencils with different heights and place patterns in alignment, or stack multiple designs on top each other. To avoid accidentaly covering existing patterns with frosting each time you apply a new pattern, design the stencils so that they cover any nearby frosting. It may be helpful to have a cutout in the stencil in the shape of a design that has already been applied, so that the patterns can be easily aligned. This will require several stencils with more complex designs and more delicate positioning of the stencil while applying frosting, but it will give you more felxibility in creating designs and allow for multiple colors and more visual depth.
